At Six, I finally put myself forward to talk in what’s known as a 6 in 60. Basically its 6 speakers in 60 minutes that talk about something they’re passionate about but with some relevancy to what we do on a daily basis. Whilst I participate in and conduct formal reviews/presentations with clients as part of my job, I’m not a natural leader or like to boast about my work so having 10 mins all to myself seemed a little daunting but a goal to aim for nonetheless. For example, in the past designers have spoken about how skateboarding has shaped their attitude and way of learning along with account handlers talking about their favourite brand. Because it’s internal, it’s the perfect setting for anyone looking to practice their presenting skills such as time keeping or improving their confidence. Every employee has tried to do at least one in their lifetime so there’s tons of support too.
I missed the first 6 in 60 earlier in the year on purpose so I could get a sense of what they entail and how people chose to present. I knew that I should volunteer for the next one even if I felt really uncomfortable about it at the time. I’m not naturally outspoken or egocentric so I felt this would be a good opportunity to put me out of my comfort zone. It’s far too easy to sit there and not say much but with it coming up to a year since I first started at Six, I needed some of those first day nerves again.
For my 6 in 60, I chose to speak about Easter eggs. I could have easily bored people to death by mumbling on about my favourite the chocolate but instead I chose to talk about a different kind of Easter egg.
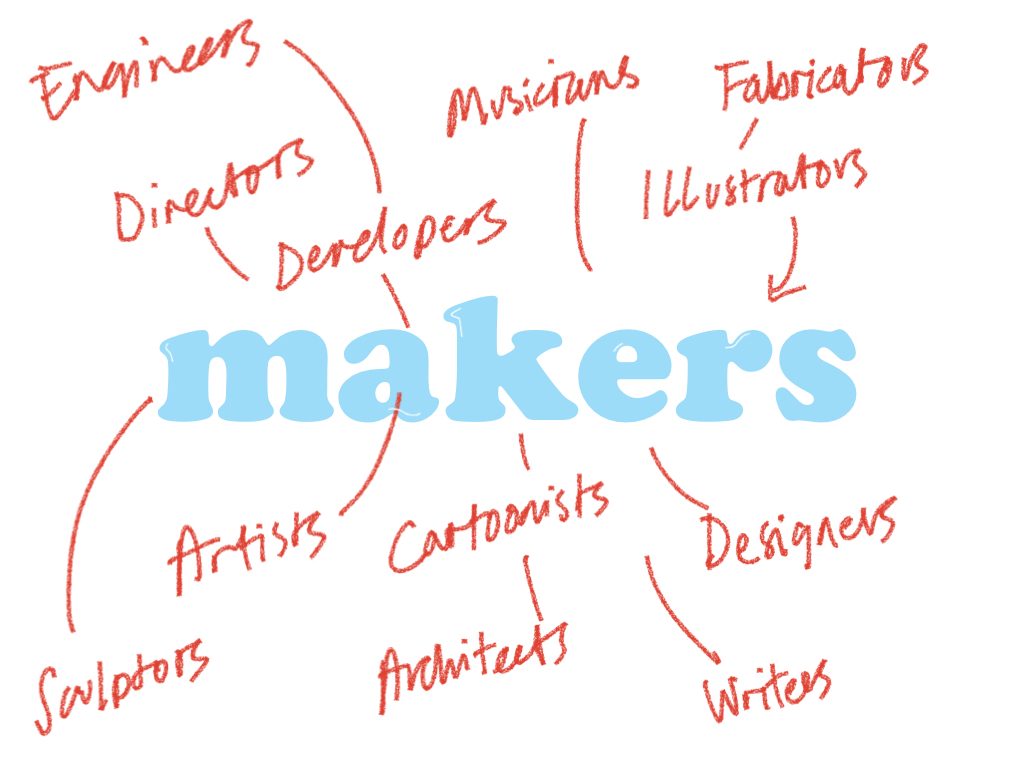
The kind that is littered in our industry. The kind where makers like to sneak a hidden feature or secret message into their work.
I first discovered them when my life revolved around 3 things. And when life was pretty damn simple.
- Beano comics - the way illustrators would add extra details and inside jokes to every nook and cranny of a comic strip like Calamity James was incredible.
- Wheres Wally? - the books even made a game out of finding hidden artefacts in plain sight.
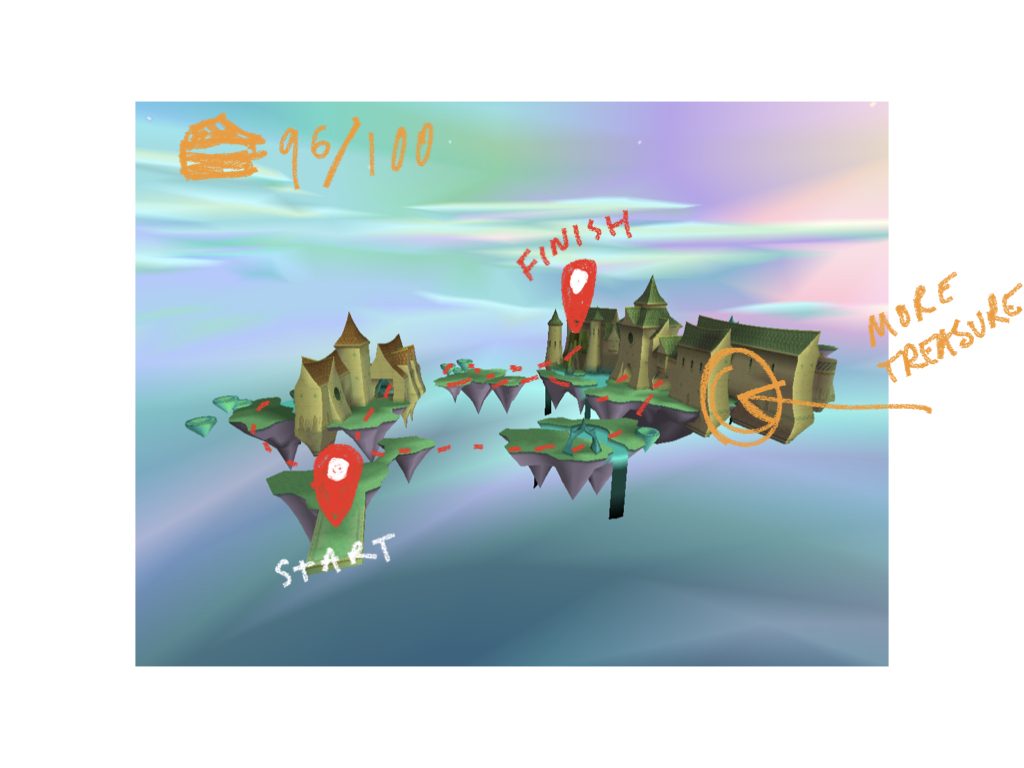
- PlayStation games - lastly I was a bit of perfectionist when it came to collecting things in games like Spyro. More than often designers had intentionally created secret parts of a level for you to find and discover the remaining collectibles hidden there.
I then went on to showcase a handful of my favourite Easter eggs in amongst every type of medium (even though it was pretty difficult to shortlist) and filed them under 4 categories to make things as easy as possible to understand. I think generally everyone was really surprised and interested in the examples I showed. To wrap the presentation up I provided a few pointers for people to take away and demonstrate how Easter eggs aren’t just for fun but there to flex brand values and connect with users. For example, how Google can turn an annoying experience into a slightly more enjoyable one by distracting users with a mini game when they have a poor internet connection.
What I learnt
- Practice is your friend - throughout the course of putting a presentation together and preparing what I might say I took advantage of talking with my mentor, Dan, who offered quick and honest feedback at every stage. I also timed it which scarily showed just how short 10 minutes is. Once I had cut down my patter, I ran through it with him with the same setup I’d have on the day. This helped me to relax and get any pre-match nerves out of the way.
- Cut out the small talk - in an early draft I realised I was trying to say everything and anything on each slide. It’s not about painting the full picture, just say what you need to with enough context and move on.
- Do it your way - I know myself it’s too easy to get stuck into the aesthetics of a presentation being the designer that I am, so this time I used the app Keynote to focus on content and limit my tools. I also chose to use a minimal amount of text that acted as prompts and varied the graphics to add pace and interest. To keep the audience on their toes, I hid a few of my own Easter eggs in there too.
- Listen for timings - I found staying aware and gauging how the audience responded really useful. If you feel like your confusing people the more and more you say, don’t dwell on it, take a breather, speak more slowly and don’t be afraid to move on. This is where practicising your words beforehand goes a long way in helping others quickly grasp what your talking about. Also it helped me stick to my timings and not overrun.
All in all, it was a brilliant experience that I can utilise for future meetings and presentations.