12 Aug

Fisherman’s cove

Illustration_port_isaac_sam_stanistreet

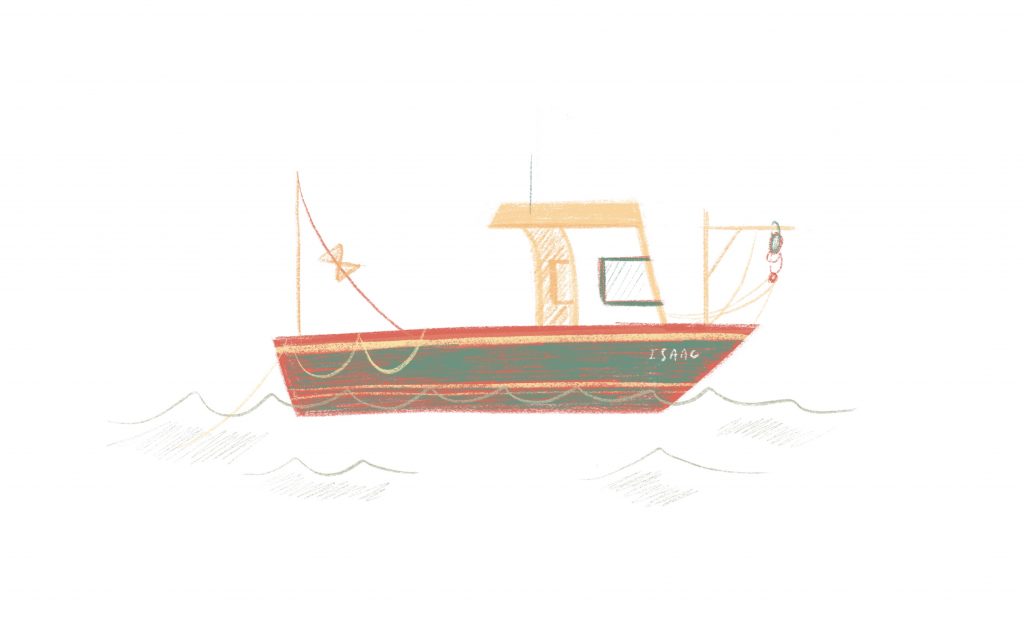
Last summer we spent a lovely week in Port Isaac in the cosiest fishing cottage we could find. It charmed us with it’s rickety beams, nautical decor and vast sounds and sights of the sea. We took great pleasure in exploring the village or simply winding time away at the house with a book or sketch pad. I became fixated on the different types of boats you could find in the bay and started drawing them from observation then from memory for fun. I really liked simplifying the level of detail and capturing their form in pencil. The other day, I found the pencil drawings and recreated them digitally so I could add more depth and personality using a range of textured brushes in full colour.

15 May

Magic 8 ball

As a new initiative at work to practice more motion design, a couple of us have started a group called the Motion Mingle. It's fairly laid back and on a daily basis we talk through any ideas or concepts we're working on and see if we can help each other out. All of us have a very unique set of skills and experience that lends our thinking to different tasks. For our first mingle we decided to create piece of motion design based around the word 'Floating/Floaty'.

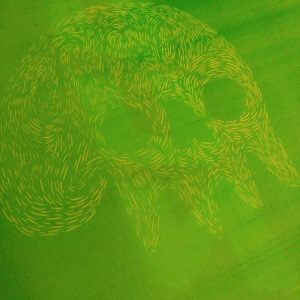
For mine, I wanted to try and mimic the floating action of an answer revealing on a magic 8 ball. I tried to study real footage of a ball in motion to mimic it as best as I could. In trying to figure out how to animate something like this, I learnt a number of new effects and tools. One in particular was using a high contrast plane to mimic liquid dissolving. For this I used an effect called 'Turbulent Diffuse' which I could manipulate over a period of time to create the idea of liquid dissolving. This was fine in a linear aspect but I wanted to find a way to show the liquid dissolving in a circular motion as if it was swirling. In this instance I applied an effect to the comp that contained the Turbulent Diffuse effect called Polar Coordinates. This way it displaced in a circle where I could alter to my desire.

Getting the prism to reveal an answer in a lifelike way was really difficult to finesse but overall, I'm really happy how it turned out.

15 May

SCC Skateboard

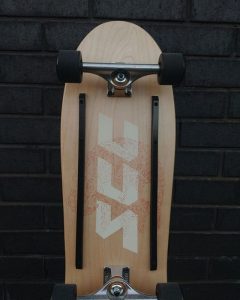
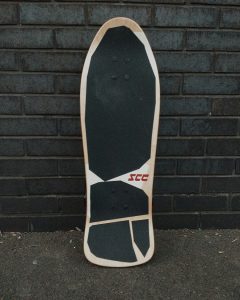
Last month, I made the final touches to my custom skateboard. It's been at least 6 months since I first purchased the blank deck from America for a measly £30 (bargain!). From what started as a quick setup to build and go skating with, I soon became obsessed with the idea of creating a custom graphic and adding as many details as possible. I had a fascination in skateboards from the 80s that had plastic rails, tipex covered griptape, wear and tear and alot of character. For a brief month or so I got to ride my Uncles original Powell Bug board and loved the way it soaked up turns. It was a really fun board which I was keen to continue riding until he made the decision to put it up for auction. So that's why I went for this type of board. The custom stuff was just an after thought. This is certainly no show piece but a full working board that I intend to wreck.

A brief recap of my process:

  1. Sand down board ready for painting
  2. Photoshop together a few rough ideas of graphics to stencil or silkscreen
  3. Cut out graphics in paper to judge size of area to mask.
  4. Mask areas I want spray paint
  5. Spray paint both topside and the bottom of the deck
  6. Install black rails, tailtap
  7. Settle on a design to try silkscreening with
  8. Badger my good friend Josh into exposing a screen and getting a weekend sorted to try printing
  9. In the meantime, saw and glue together something to hold the board in place ready for printing
  10. Decide on silkscreen ink and colour. Order Fire Red pot ready to print with.
  11. Umm and arrr over design
  12. Buy another board and start messing with that
  13. Badger Josh one last time to settle a date
  14. Screen gets exposed with design
  15. Get to London to print.
  16. Measure, think, wait - twice. Print - once
  17. Because the board is concave, ignore traditional silkscreen printing method and apply a custom solution. I roll the screen across the board whilst Josh pulls the ink through.
  18. First try fortune! Silkscreen done
  19. Mask and spray paint logo on topside of board
  20. Measure and figure out how to grip board
  21. Design griptape on the fly using paper cutouts and playing it by eye
  22. Slice grip to size and apply to board
  23. Fix trucks to board along with wheels and bearings
  24. Take for a skate

For a first try it came out surprisingly well. I'm stoked how it came together and I've ridden it load of times now both at the skatepark and on the streets - it works well across all of it.

9 Apr

BOH ’17 motion graphics

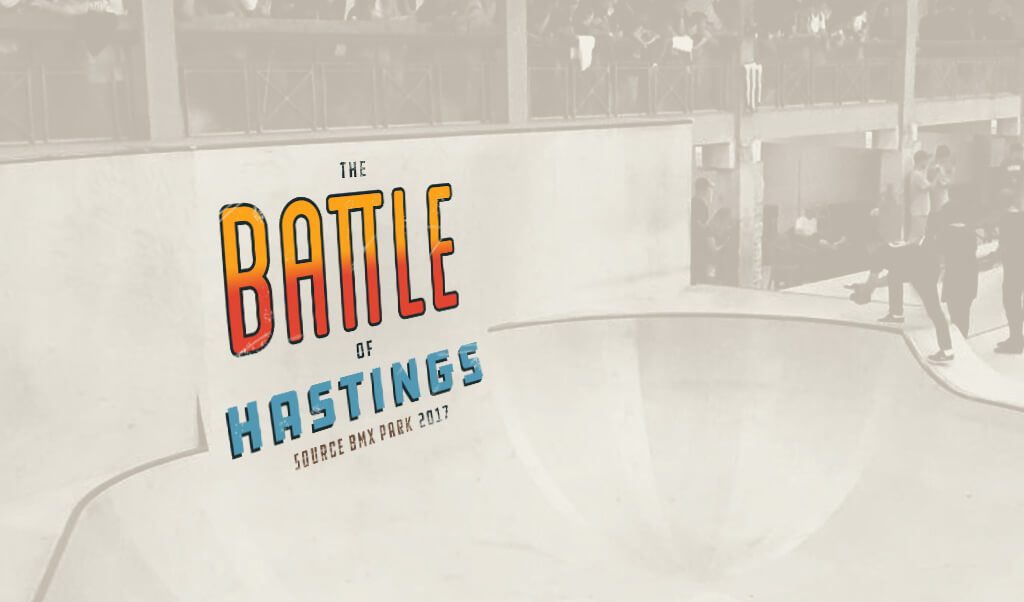
After a trip to watch the Battle of Hastings last year, I wanted to recreate the atmosphere and surreal architecture of the event using motion graphics. It certainly taught me a few new things in After Effects.

16 Oct

The Battle of Hastings 2017

HastingsBMX

Last year, I remember watching the highlights from the very first competition held at the (then) new Source bmx park and kicking myself I wasn't physically there to watch it. I used to go to the Etnies Backyard Jams in Brighton and Bournemouth, along with NASS, Sprite Urban Games, The King of Southsea and BMX Masters in Cologne. Basically, wherever there was a descent competition on. The road trip part is often as much fun as the event to be honest, listening to great tunes and being up at the crack of dawn. So after securing a couple of tickets to this years Battle of Hastings event, I couldn't wait get down there from Bristol.

To say thanks for all the times my uncle had driven me to such events when I was younger, I drove us this time. 40 of the worlds best riders were in Hastings, a pretty dreary yet fantastically Victorian setting for a bike competition. It couldn't be any more British and I couldn't help but get a bit childish as I kept spotting the riders you only ever saw videos of. Gary Young, Van Homan, Chris Doyle, Chase Hawk, most are living legends and continue to release great video parts time and time again.

We got there on the Saturday to watch the qualifiers. The finals tickets were snapped up before we could even look for them. Typically, qualifier stages are ok, maybe a bit safe and in the realms of other Bmx events like FISE, Simple Sessions, NASS, they can feel a bit bland. That said, I don't tend to watch those types of competitions listed because they largely attract riders who are 'trick monkeys' and show little spontaneity. The main draw of this event is that you get teams of riders that go big, fast and effortlessly around any park transition with far less focus on how many tailwhips you can cramn into a run.

The building is accessed from the top along the promenade but from the outset it doesn't look like theres much on offer. As you scale the battered staircase, you discover that the entire park is in fact underground. The walls adorned with swimming pool mosaics - a hint to it's past. The further you descend it becomes apparent that you're not in a mere dingy basement but a colosseum of epic acoustics and proportions.

Saturday was a display of Bmx at it's rawest. The atmosphere was electric and being part of it felt pretty special. Even after riding for more than 13 years or so, with friends that have since fell out of interest with it, my passion feels stronger than ever. I think from seeing the interviews and write-ups from that weekend, its clear that Source Bmx hosted one hell of an event. Well done and bring on 2018!
Portrait-v4

Need a designer?
Better call Sam.

hello@samstanistreet.com